Monday, December 3, 2012

Apple Rum n Raisin Cake

Here we are, in the last month of the year...December 2012. The month which gives the whole world all the reasons to celebrate, dress up in great colours, eat the best of the food, spend some quality time in the warmth of their loved ones in spite of the freezing cold weather. With the whole world in the celebration mood, this gives a great opportunity to make something really warm and nice for your family. 

Continuing my quest to bake with fresh fruits of the season...today I am picking up Apples. Apple is one fruit which is available in thousand different varieties, all looking so pretty, delicious to eat and needless to say sufficient enough to keep the doctor away. There are so many different things which can be made using Apple as the main ingredients including cakes, breads, pies, sauce etc. This is the first time, I am baking something with apples. Hence I decided to go conventional and make an Apple Cake, adding the twist of rum and raisins to complement the festive season celebrations.

Okay, I just can't wait to show you my Apple, Rum and Raisin Cake...

Apple, Rum and Raisin Cake


I know, looking at the pictures you would also want to go straight to baking...

Here's what you gonna need for making Apple, Rum and Raisin Cake

  • 226 gms (1 cup) unsalted butter (at room temperature)
  • 200 gms (1 cup) granulated white sugar
  • 4 eggs
  • 2 tsp vanilla extract
  • ½ cup rum
  • ½ cup raisins
  • 2 tsp baking powder
  • ½ tsp salt (omit the salt if you are using salted butter)
  • 1 tsp lemon xest
  • 390 gms (3 cups) all purpose flour
  • 4 apples, peeled and cut into bite size pieces
  • ¾ (180 ml) cup milk

Here's how you can make it

Preheat your oven t180° C/ 350° F. Line an 8 inch round cake pan with baking parchment paper.


  • Soak the raisins in rum for a day or heat the raisins and rum in a saucepan over a medium heat for 10 minutes.
  • Add 2 tbsp of all purpose flour in apples and toss it so that apples get coated in flour. This helps apples to stick to the flour and avoid apples setting down in the cake pan while baking.
  • In a bowl, add all purpose flour, baking soda, salt and lemon zest and give it a stir so that baking soda and salt gets mixed properly in the flour.
  • Add apples in the dry ingredients and mix it well.


  • In another large bowl, all butter and sugar and beat it using your electric beater or stand mixer until nice and creamy.
  • Add eggs one at a time, beating well after each addition. Scrap down the sides of the bowl whenever required. After adding all the eggs, the mixture will turn very soft, smooth and light lemon in colour.
  • Add vanilla essence and beat until incorporated.
  • Add raisins soaked in rum and mix it well with the help of your rubber spatula/ spoon.


  • Add the flour mixture (in three additions) alternatively with milk (in two additions), starting and ending with flour mixture. Fold the mixture after each addition until dry ingredients are completely incorporated into the wet ingredients. 
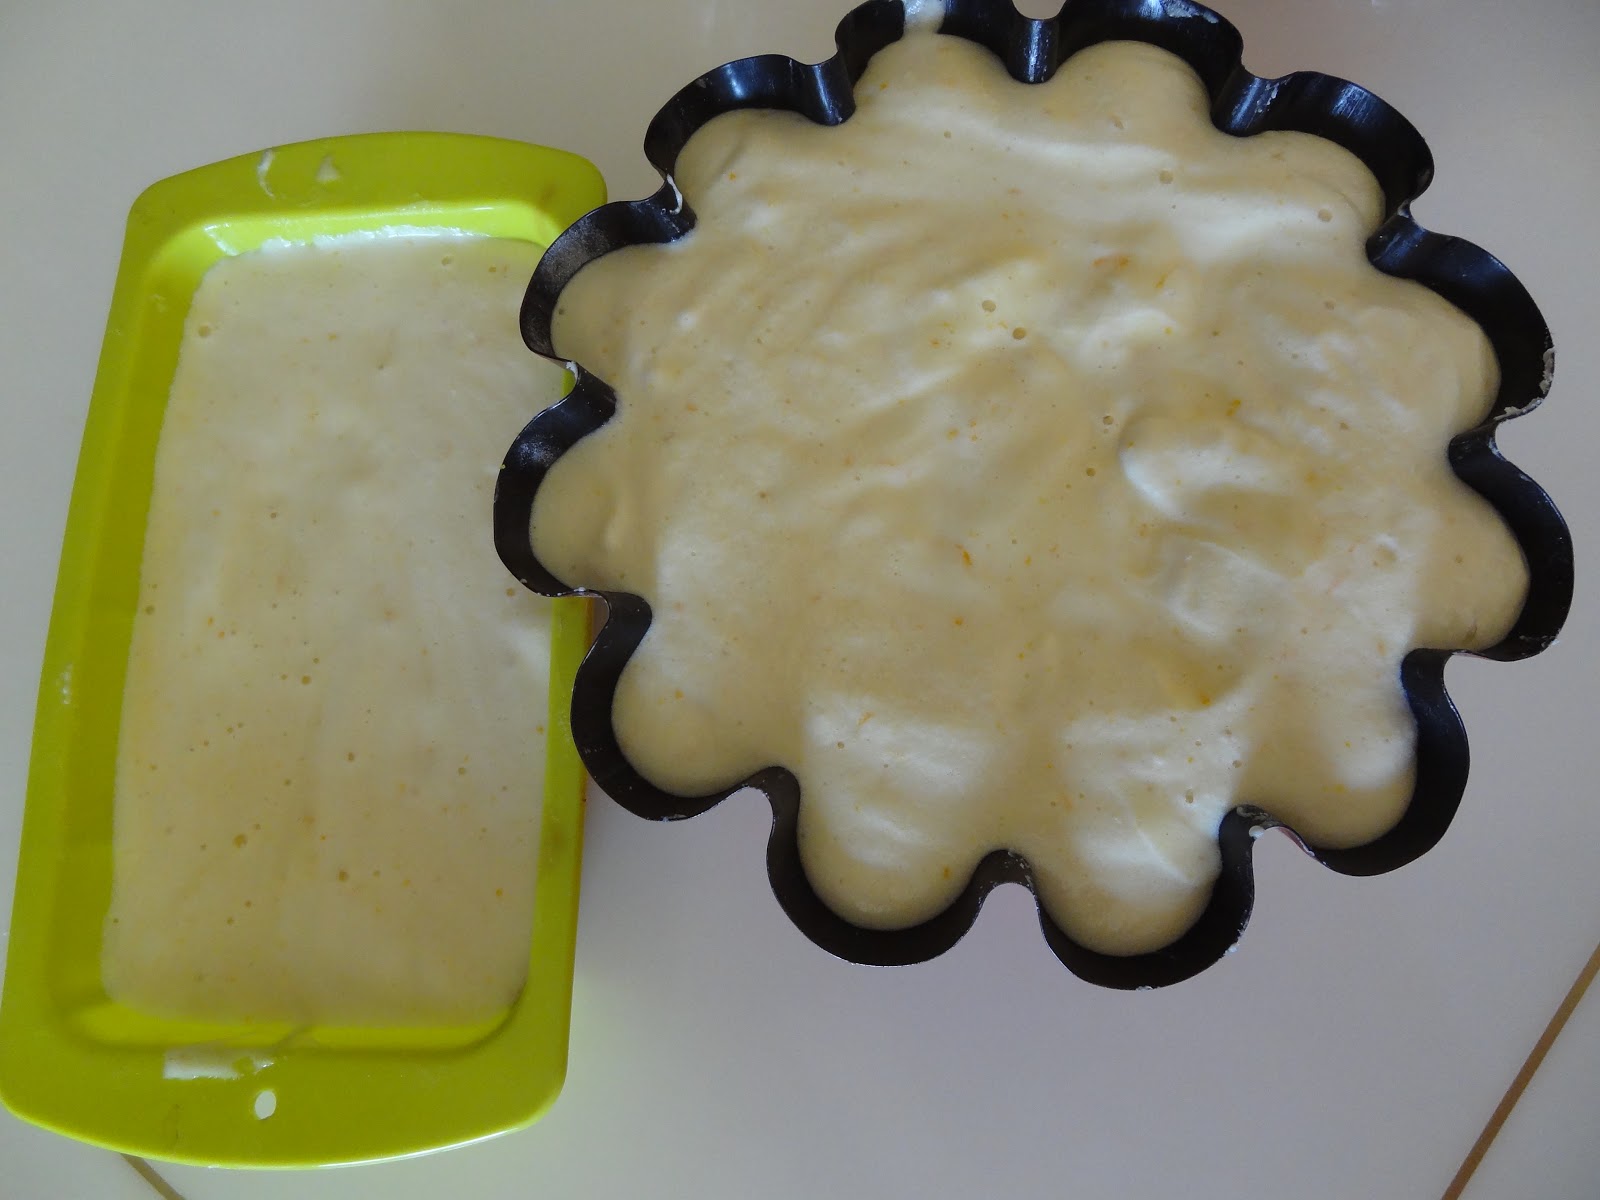
  • That's it. The batter is ready to go into the baking pan 


  • Pour the batter into the baking pan and bake for about 60 minutes to 1 hour 10 minutes. I initially baked for 50 minutes, checked and again baked for another 15 minutes i.e. a total of 65 minutes.  
  • Place on a wire rack to cool completely (about 20 minutes) before taking our from the pan. Serve hot or at room temperature.
  • Store in an air tight container at room temperature.

Want a Slice of this yummylicious delight...???
    Hope you would also enjoy making this delight as much as I did!

    Cheers!!!

    Tuesday, November 27, 2012

    Banana Bread


    I thank all the people who saw and liked my earlier post on Orange Chiffon Cake. Continuing my celebration of this fall winter season with baking seasonal fruits, I have now decided to make some Quick Bread. The reason why I am saying Quick Bread is because making this bread would not require yeast and hence does not need dough resting time nor will it require kneading and proofing the dough. As its name suggests, it is really 'quick' and being an Arien (born in April), I clearly do not have the patience. I want my things to happen really quick. 

    With apples, bananas, strawberries in my refrigerator, it was really difficult to decide on which bread to make first. Then I see my bananas which I bought fresh and kept aside for their skin to turn brown and thin. Its now the perfect time to make a bread out of it. So its Banana Bread today. 


    Banana Bread

    It started like this -

    Bananas ready for making bread

    Hey, don't panic! I am not making bread out of stale bananas. In fact, I waited for these bananas to turn to ripen so that its just perfect for making the bread. Bananas with these dark patches are more sweet and more healthy. The more darker the patches, higher will be its immunity enhancement quality. Hence, the riper the banana the better the anti-cancer quality. However, diabetic patients should not eat these bananas as the glucose content is pretty high.
    Without wasting any more time, lets get straight to making the delicious, soft and moist Banana Bread.


    Here's what you gonna need to make Banana Bread - 

    • 230 gms/ 1¾ cup all purpose flour
    • 150 gms/ ¾ cup caster sugar/ powdered sugar
    • 1 tsp baking powder
    • ¼ tsp baking soda
    • ¼ tsp salt
    • 1 tsp ground cinnamon
    • 75 gms/ ¾ cup roasted chopped walnuts
    • 2 eggs, lightly beaten
    • 113 gms/ ½ cup butter, melted and cooled 
    • 3 large/ 5 medium size ripe banana, mashed well
    • 1 tsp vanilla extract


    Yield - one 9' x 5' loaf

    Here's how you are gonna make it

    Preheat your oven to 180° C/ 350° F. Grease a 9'x5' loaf tin pan or cover it with parchment paper

    • In a large bowl, add all purpose flour, sugar, cinnamon, baking powder, baking soda, walnuts and mix together until combined.


    • In another bowl, whisk the eggs lightly. Add mashed bananas, melted and cooled butter and vanilla extract and whisk it until combined.


    •  Pour the wet ingredients over dry ingredients and fold with the help of a rubber spatula just until the flour mixture is combined in the wet ingredients. DO NOT OVER MIX.
    • Pour the batter in the pre-lined loaf pan and bake it for 55-60 minutes until the outer crust is golden brown and a tooth pick inserted in the center comes out clean.
    • Place on a wire rack to cool completely before taking out from the pan. Serve hot or at room temperature.
    • Store in an air tight compartment.
    Now you know what to do with these dark patchy bananas instead of throwing them in the bin.

    Hope you would have also enjoyed making it as much as I did!

    Cheers!

    Sunday, November 25, 2012

    Chocolate-chip Cookies


    My first connection with chocolate-chip cookies was at Subway. I like these cookies so much that I never order a subway without these cookies. I have gone alone many a times to Subway to eat a loaf and the chocolate chip cookies all by myself. Hence, when I started baking, this was the first ever cookies that I made. By far, I have made them so many times (and gifted to a lot of my friends) and never got bored of the taste. 

    I remember the first time I made these cookies was in a very small Morphy Richards OTG that could bake only two cookies in one batch and I had to bake these cookies for almost half a day (9 batches! Can you believe it?). This gave me sufficient reason to buy a new oven. I grabbed this opportunity totally and got myself a great looking, gorgeous Samsung CQ138S and have been totally in love with it from the day it arrived at my home. Now, I can bake all these cookies in just two batches. Life is so much more beautiful with  yummy food and sexy gadgets.

    These soft and chewy cookies need a combo of white and brown sugar. It is easy to find brown sugar these days in India, you can get Bluebird Dememera sugar at your nearest grocery store or D Mart, Hypercity. Hence, there is abosolutely no challenge in making these cookies at home.

    Chocolate-chip Cookies

    Here's what you gonna need to make Chocolate-chip Cookies

    113 gms/½ cup (1 stick) unsalted butter (at room temperature)
    45 gms/ ¼ cup caster (superfine) sugar
    100 gms/ ½ cup light brown sugar
    1 egg
    ½ tsp vanilla extract
    175 gms/ 1½ cups all purpose flour 
    ½ tsp baking soda
    ¼ tsp salt (leave the salt if you are using salted butter)
    175 gms/ 1 cup chocolate chips
    50 gms/ ¼ cup walnuts, roasted and chopped (optional) 

    Yield - 24 cookies


    Here's how you gonna make it

    Preheat your oven to to 170° C/ 325° F. Line two baking sheets with parchment paper.


    • In a large mixing bowl, beat the butter until nice and creamy using your hand mixer.
    • Add sugar and beat until light and fluffy.
    • Add egg and beat in the batter until combined. In case you are doubling the recipe, add one egg at a time and beat.
    • Add vanilla extract and you guessed it right, continue to beat.
    • In another bowl, sift all purpose flour, baking soda and salt (if using unsalted butter) and stir. Add chocolate chips and walnuts and stir.
    • Mix the dry ingredients in the butter and egg mixture and fold it with the help of a rubber spatula giving your hands a nice workout. Fold the dry ingredients until it is combined together with the wet ingredients.
    • If the dough is very soft, keep it in the refrigerator for 30 - 40 minutes.
    • With the help of an ice-cream scoop or using two spoons, scoop out the dough into the baking sheet keeping a gap of 3-4 inches between the cookies as these will spread while baking.
    • Bake for about 10 -14 minutes or until the cookies edges are golden brown. Let it cool completely on wire rack.
    • Store these cookies in an air tight container for few days.
    Variations:- 
    You can do so many variations of these cookies. Few of these variations could be - 
    • All chocolate cookies - Substitute 15 gms/ 1tbsp unsweetened cocoa powder for the equal amount of flour.
    • Mocha - Use coffee essence or 1 tbsp of strong black coffee instead of vanilla extract.
    • Hazelnuts - Substitute whole or coarsely chopped hazelnuts for the equal amount of walnuts.
    • Dried fruits - Substitute chcolate chips and walnuts for the equal amount of chopped dried fruits such as raisins, almonds, cranberries, glaced cherries etc.
    Hope you will also enjoy making these cookies as much as I did!

    Cheers!

    Friday, November 23, 2012

    Orange Chiffon Cake


    It gives immense pleasure and a sense of satisfaction seeing the increasing activity on the FB page of Soniaz Delights and knowing that you have been missing new recipes. In the last month while I was away, I have also been missing baking as if a part of me is missing. Here I am, back to baking new delights...

    Its fall winter, and everyone is getting into the December festive season. Its also the best time of the year to make fruit based Delights as the best of fresh fruits are available this time of the year. Hence, I have decided to try and include some fresh fruits in all of my baking this season. 

    The first fruit that I am using for baking this season would be 'Orange'. The reason I picked this fruit is I have got a personal connection with the fruit. A variety of this fruit (Kinnow) is grown in our own farms in Punjab and I visited the farms and plucked the fruits by myself! I looked for many cake recipes with Orange as the main ingredient and finally decided to make an 'Orange Chiffon Cake'.

    Chiffon cakes are as soft and light as a Chiffon saari (love wearing them). The cake just melts in your mouth leaving the fresh citrusy flavour lingering in your mouth for a long time. One piece is of this cake is simply not enough. The best thing about this cake is you will not get the butter taste in this cake as the recipe include flavourless oil leaving you with one flavour to enjoy...Tangy Orange. 

    Without waiting further, lets get straight to the cake and how you can try it yourself.

    Orange Chiffon Cake

    Here's what you gonna need to make Orange Chiffon Cake


    6 eggs separated + 1 egg white at room temperature (separate the eggs while they are cold and let it sit till it reaches room temperature)
    180 gms/ 1½ cup + 3 tbsp (sifted) all purpose flour
    45 gms/ 5 tbsp corn flour
    250 gms + 50 gms/  1¼ cup + ¼ cup caster sugar or powdered sugar
    1 tbsp baking powder
    ½ tsp salt
    2 tbsp orange zest
    120 ml/ ½ cup vegetable oil/ sunflower or canola oil
    180 ml/ ¾ cup fresh orange juice (you may use tetra pack but freshly squeezed works better)
    1 tsp pure vanilla extract
    ½ tsp cream of tartar/ lemon juice

    Here's how you gonna make it

    Preheat your oven to 170° C/ 325° F. Line a 10 inch bundt pan or 2 small pans.
      1 2
      34
      56
      • In a large bowl add all the dry ingredients together i.e. all purpose flour, corn flour, sugar (250 gms), baking soda, orange zest and salt. Give these ingredients a nice stir with the help of a balloon whisk.
      12
      34
      5
      • Make a well in the center of the mixed dry ingredients and add egg yolks, orange juice, oil, vanilla extract and beat with the help of your hand mixer for about a couple of minutes until nicely combined.

      12
      34
      5

      • In a separate bowl, beat the egg whites until foamy. 
      • Add lemon juice and beat until the soft peaks.
      • Gradually add the remaining 50 gms caster sugar and beat for 2 - 3 minutes until stiff peaks form. (see picture 3 above)
      • Add the egg whites mixture in the batter kept aside in 3 - 4 installments and fold it gently.


      • Pour the batter in the pre lined baking pan. Preferable use bundt pan with the hole in the center. Bake for about 50 - 60 minutes
      • Once the cake is baked, invert the pan at certain height and let the cake cool completely in the pan for about 2 hours. 
      • Once cooled, put a knife/ spatula in the inside of the pan and slowly remove the cake from the pan.
      • Dust the top of the cake with some icing sugar and sugar.
      • Store the cake in an air tight container and store at room temperature for a few days or refrigerate it for a week.
      Hope you will also enjoy making it as much as I did!

      Cheers!